
XingAI Cook How-To — from our family kitchen
How to Cook a Steak at Home
Tonight's decision, made for you: one thick steak, one hot pan, no steakhouse and no bottled oil. This is the family method I taught my son for his very first steak — written out in full, so you can cook it tonight.
The one trick that changes everything: the fat you trim off is the cooking oil.
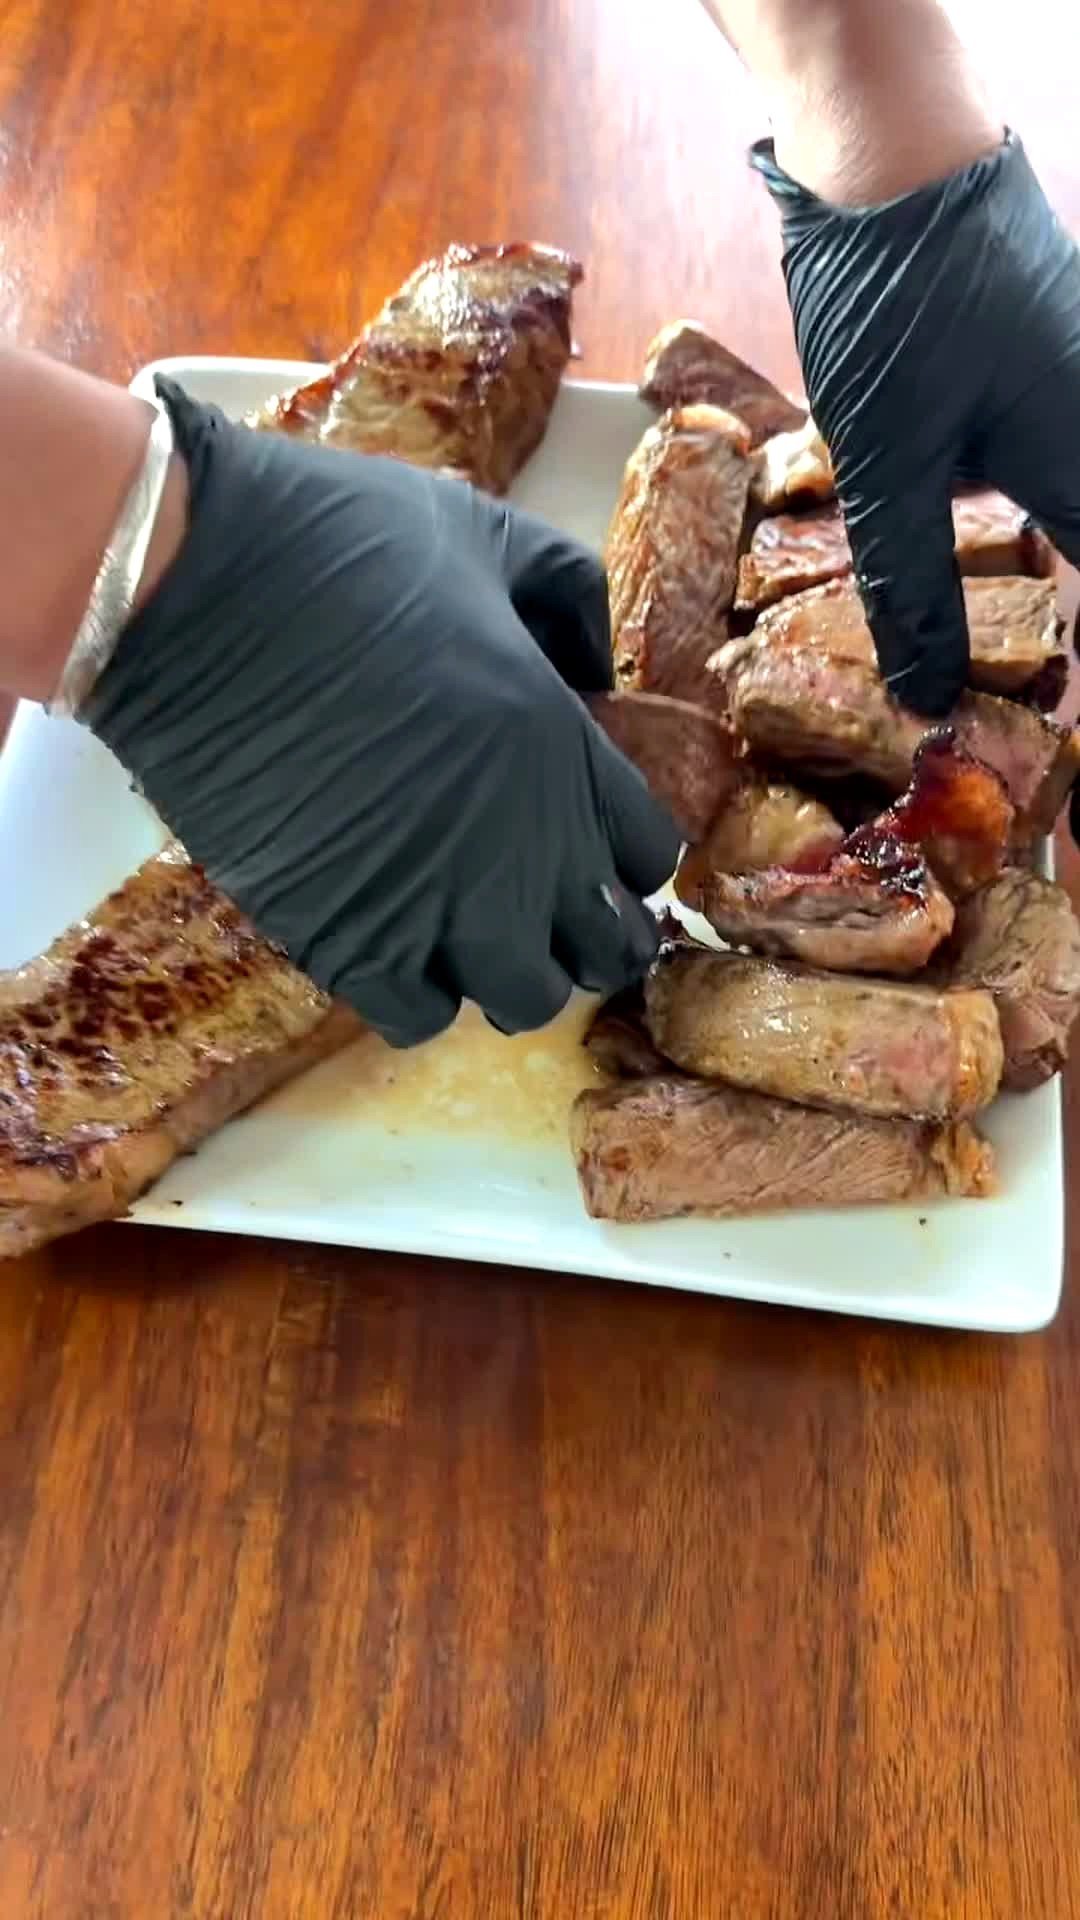
The night I taught my son his first steak, his hand kept hovering over the pan, wanting to poke it. That urge is the whole lesson. A great steak at home is mostly patience: dry it, salt it, leave it alone, and let its own fat do the work.
Everything below is exactly what we did in our kitchen that night, in the order we did it, with the reason behind each step. The full lesson is on video just below — watch it once, then cook with the steps beside you.
Watch the full lesson: Teaching My Son To Cook His First Steak At Home — Dad's Method, Step by Step
What you need
- Thick-cut steaks
- Salt
- Butter
- Green beans
- Garlic
- Chili flakes
The family method, step by step
1. Pick a thick steak — and keep the fat trimmings
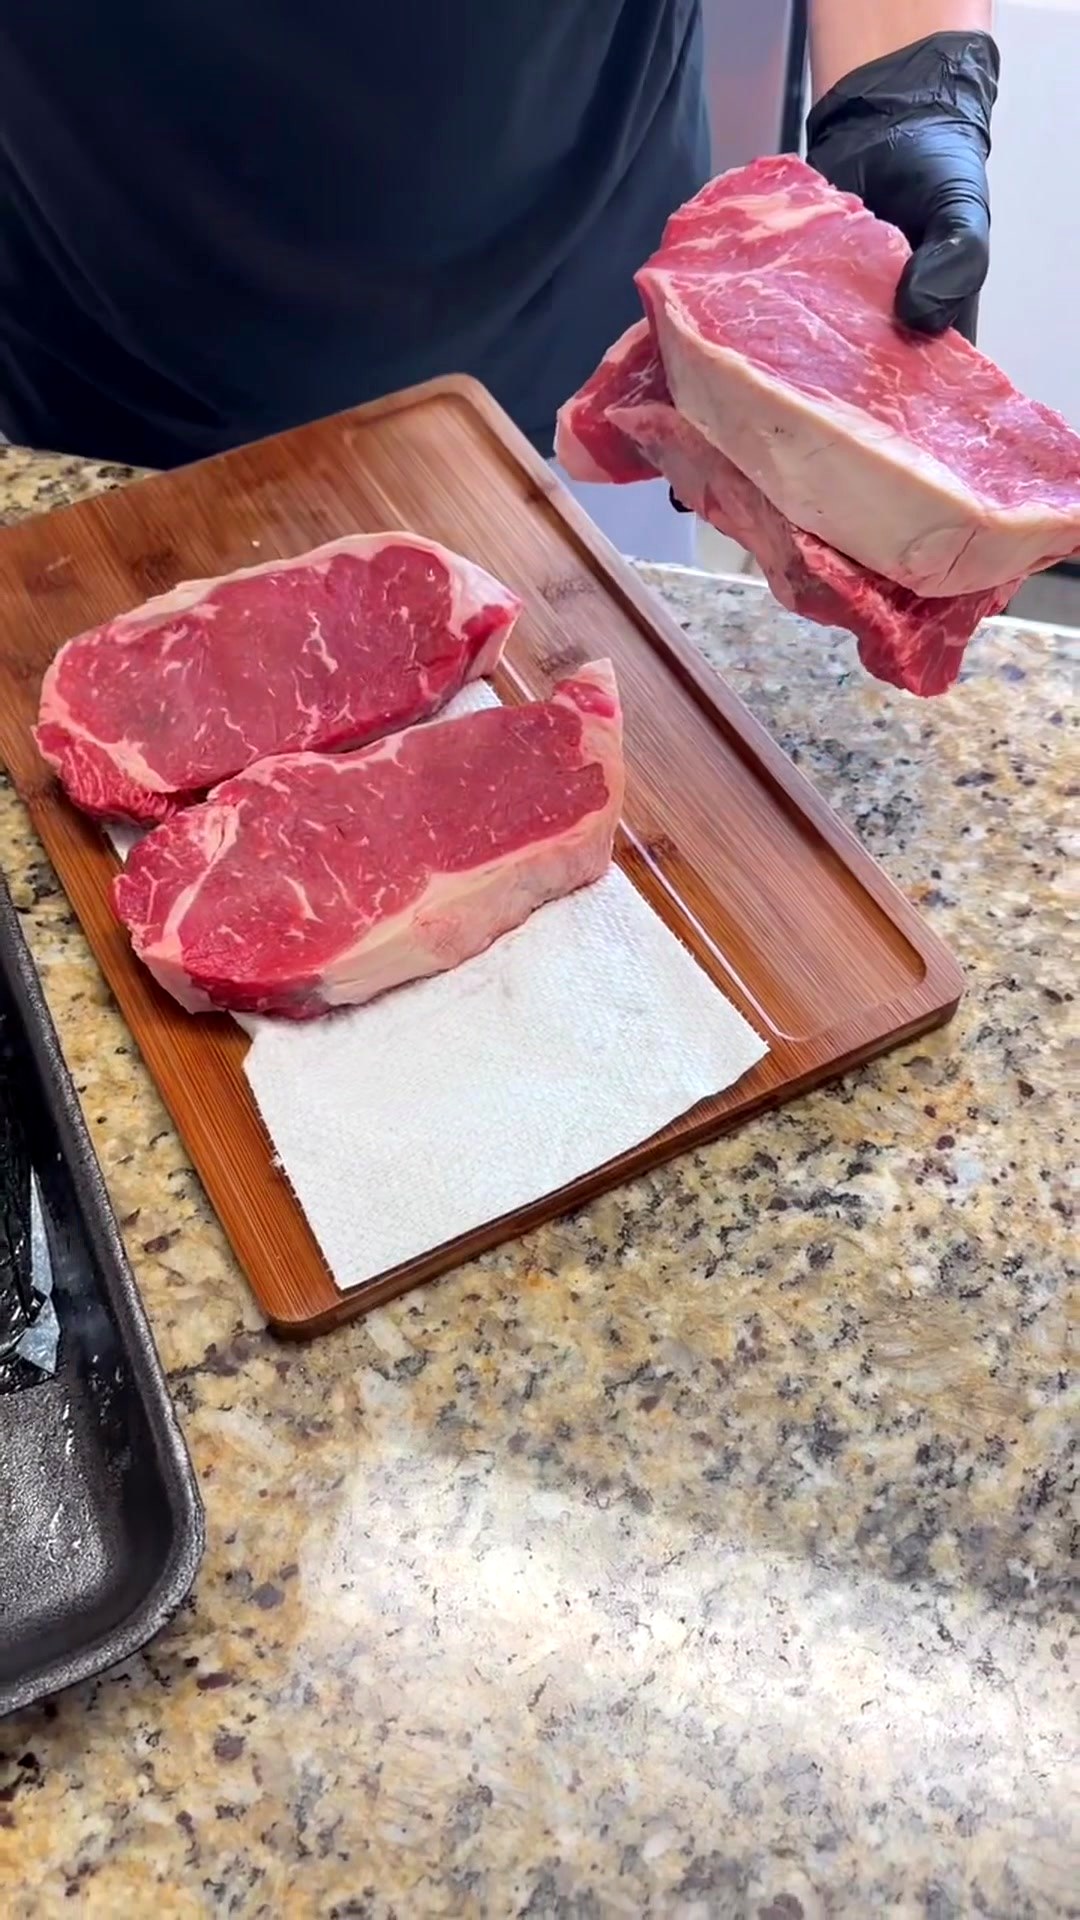
Start with a thick-cut steak; it forgives you, because the crust gets time to build before the middle overcooks. With a sharp knife, trim the thick fat cap down — but do not take it all off. Leave a thin layer on the steak, and keep every trimming you cut away.
Why: the thin layer left on the steak is where the flavor lives, and the trimmings are not waste — they are step 3.
2. Pat it dry, then salt every side
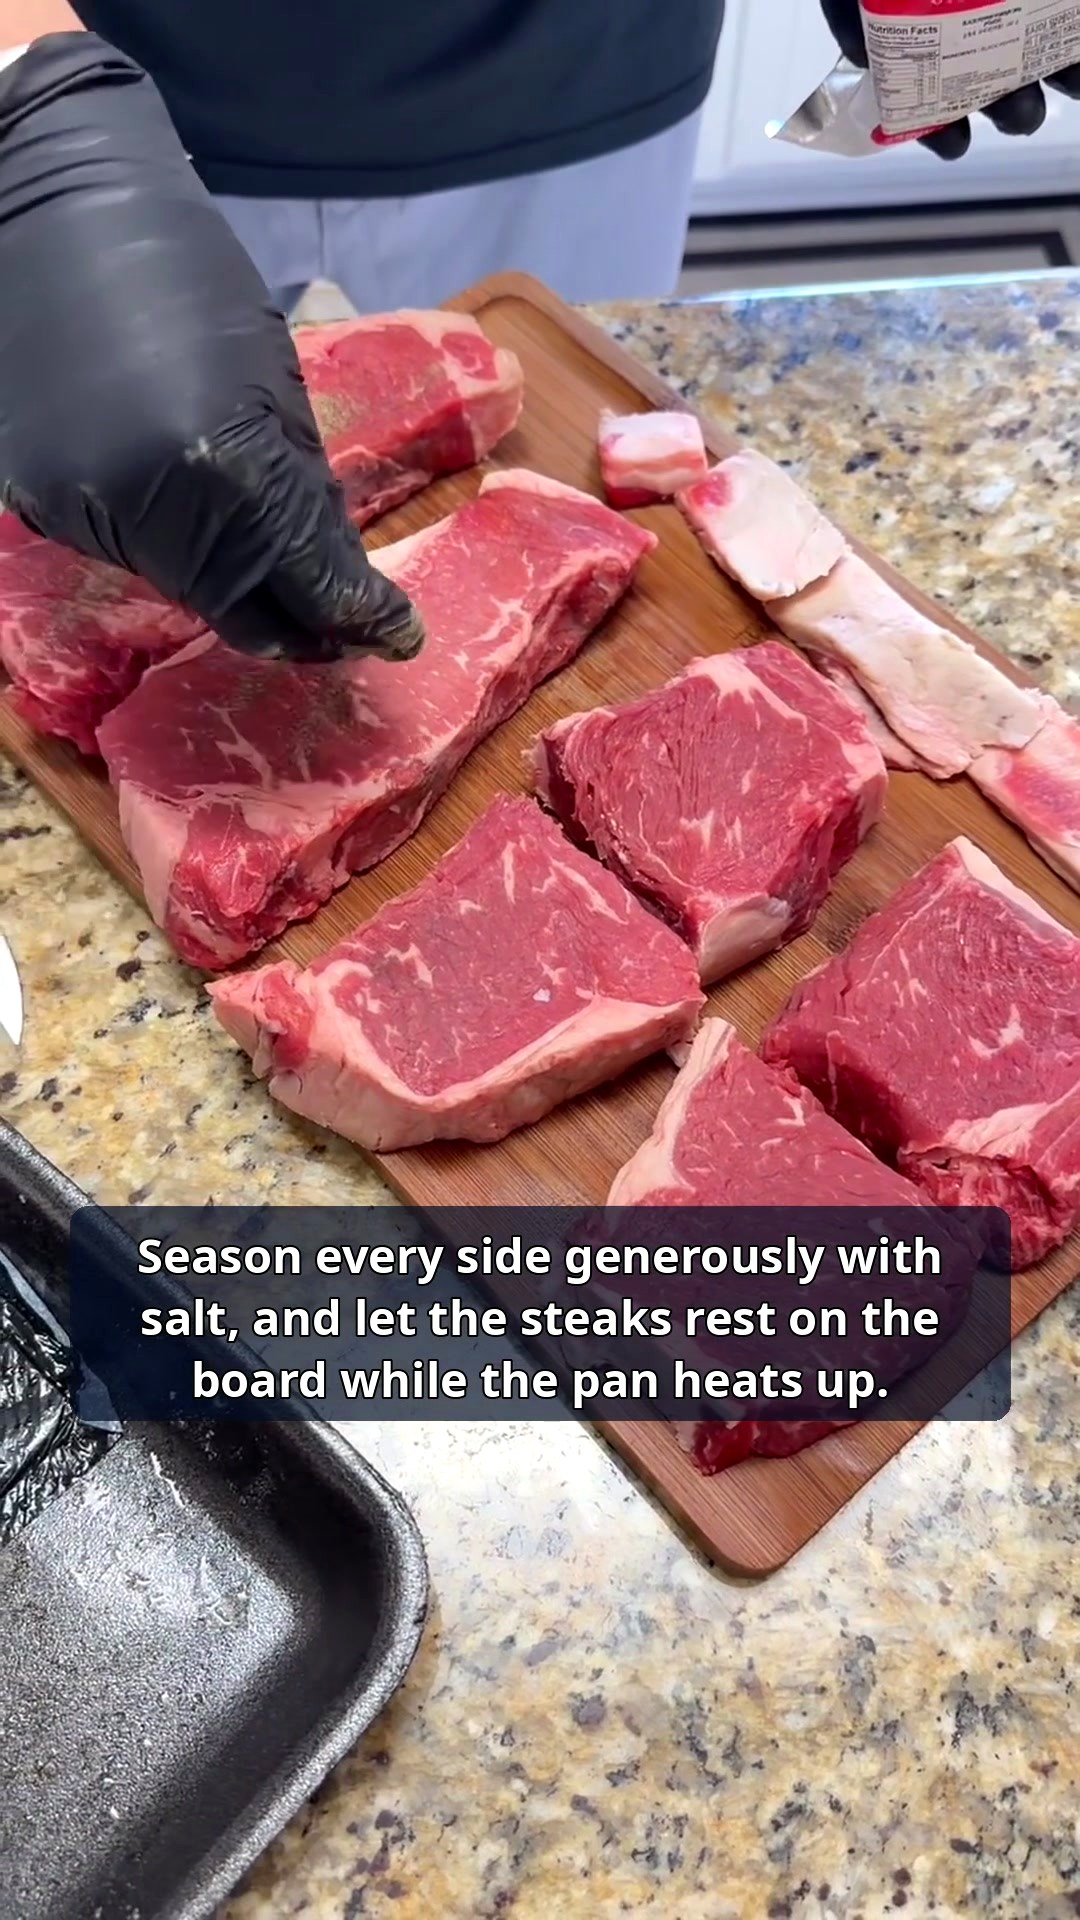
Unwrap each steak and pat every surface dry with paper towels. Then season every side generously with salt, and let the steaks rest on the board while the pan heats up.
Why: a dry steak sears; a wet steak steams. Surface water is the enemy of crust.
3. Render the trimmings in the hot, dry pan
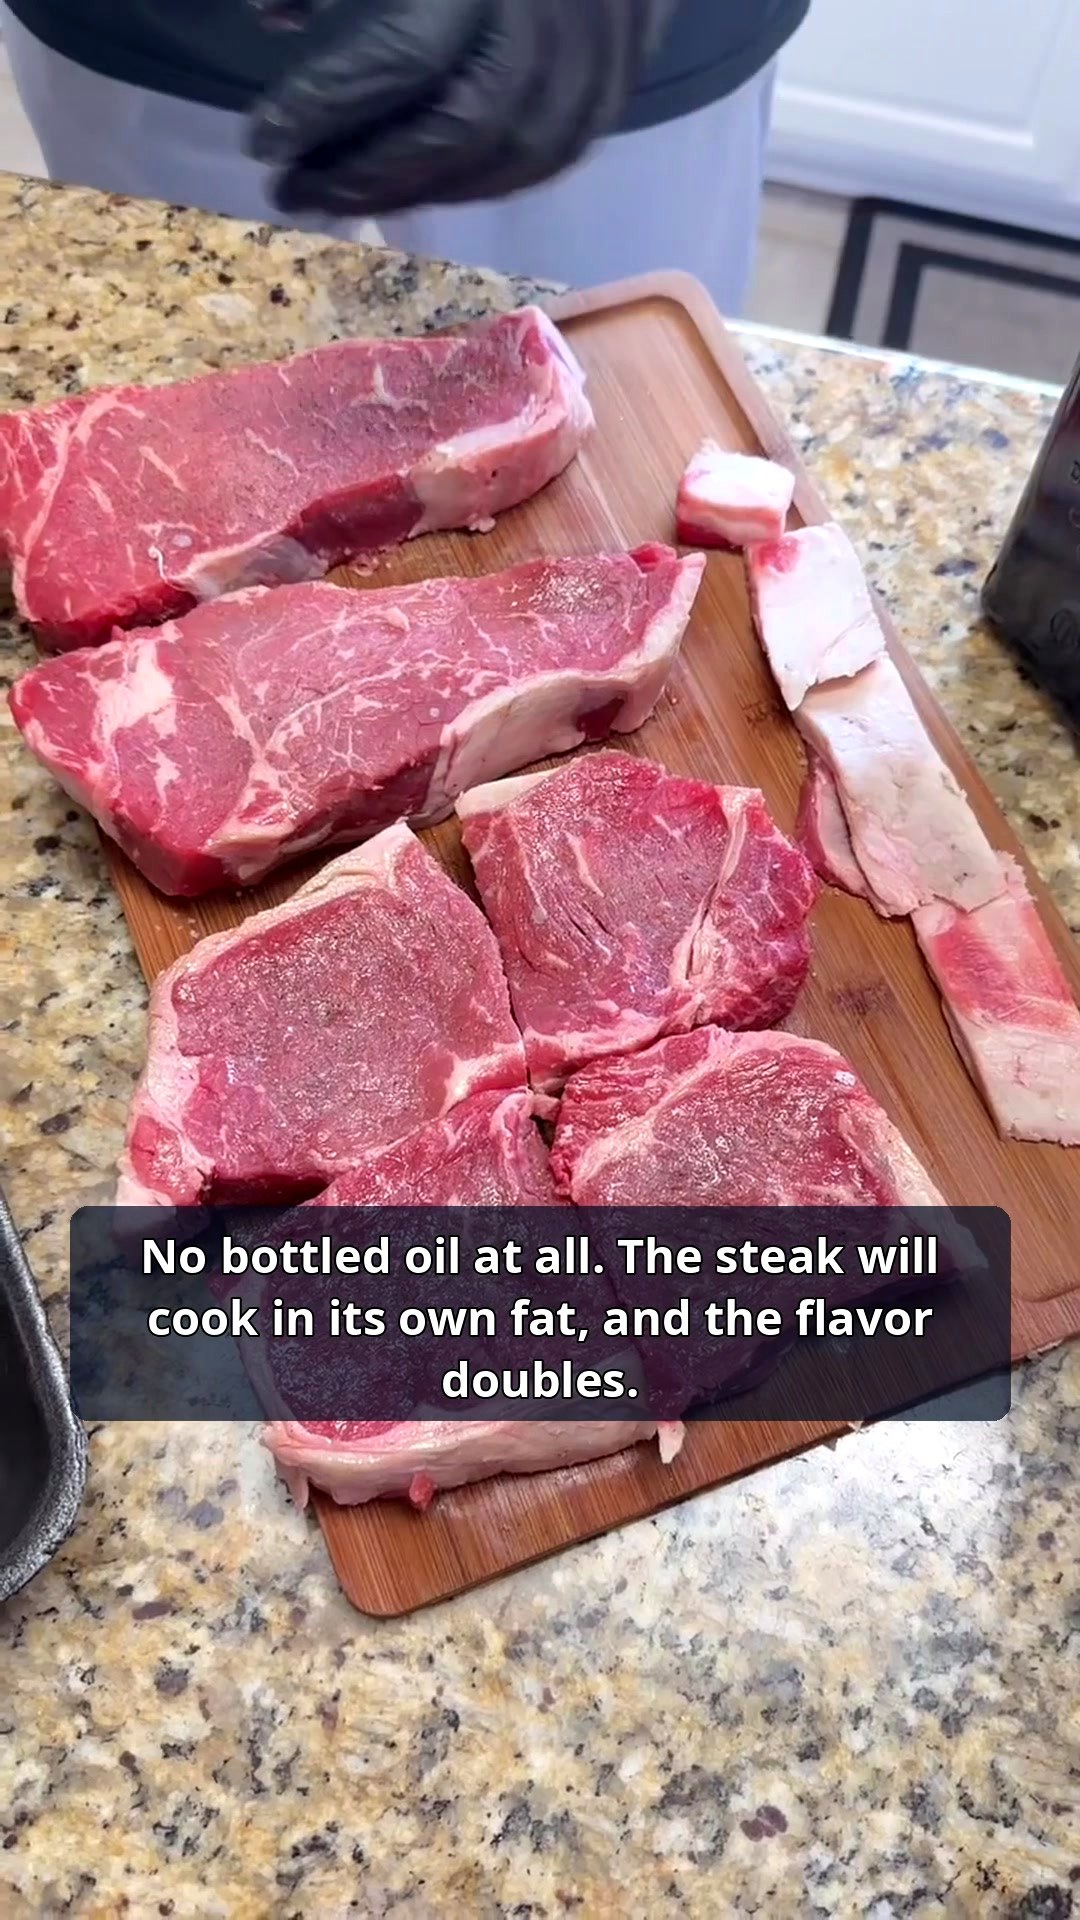
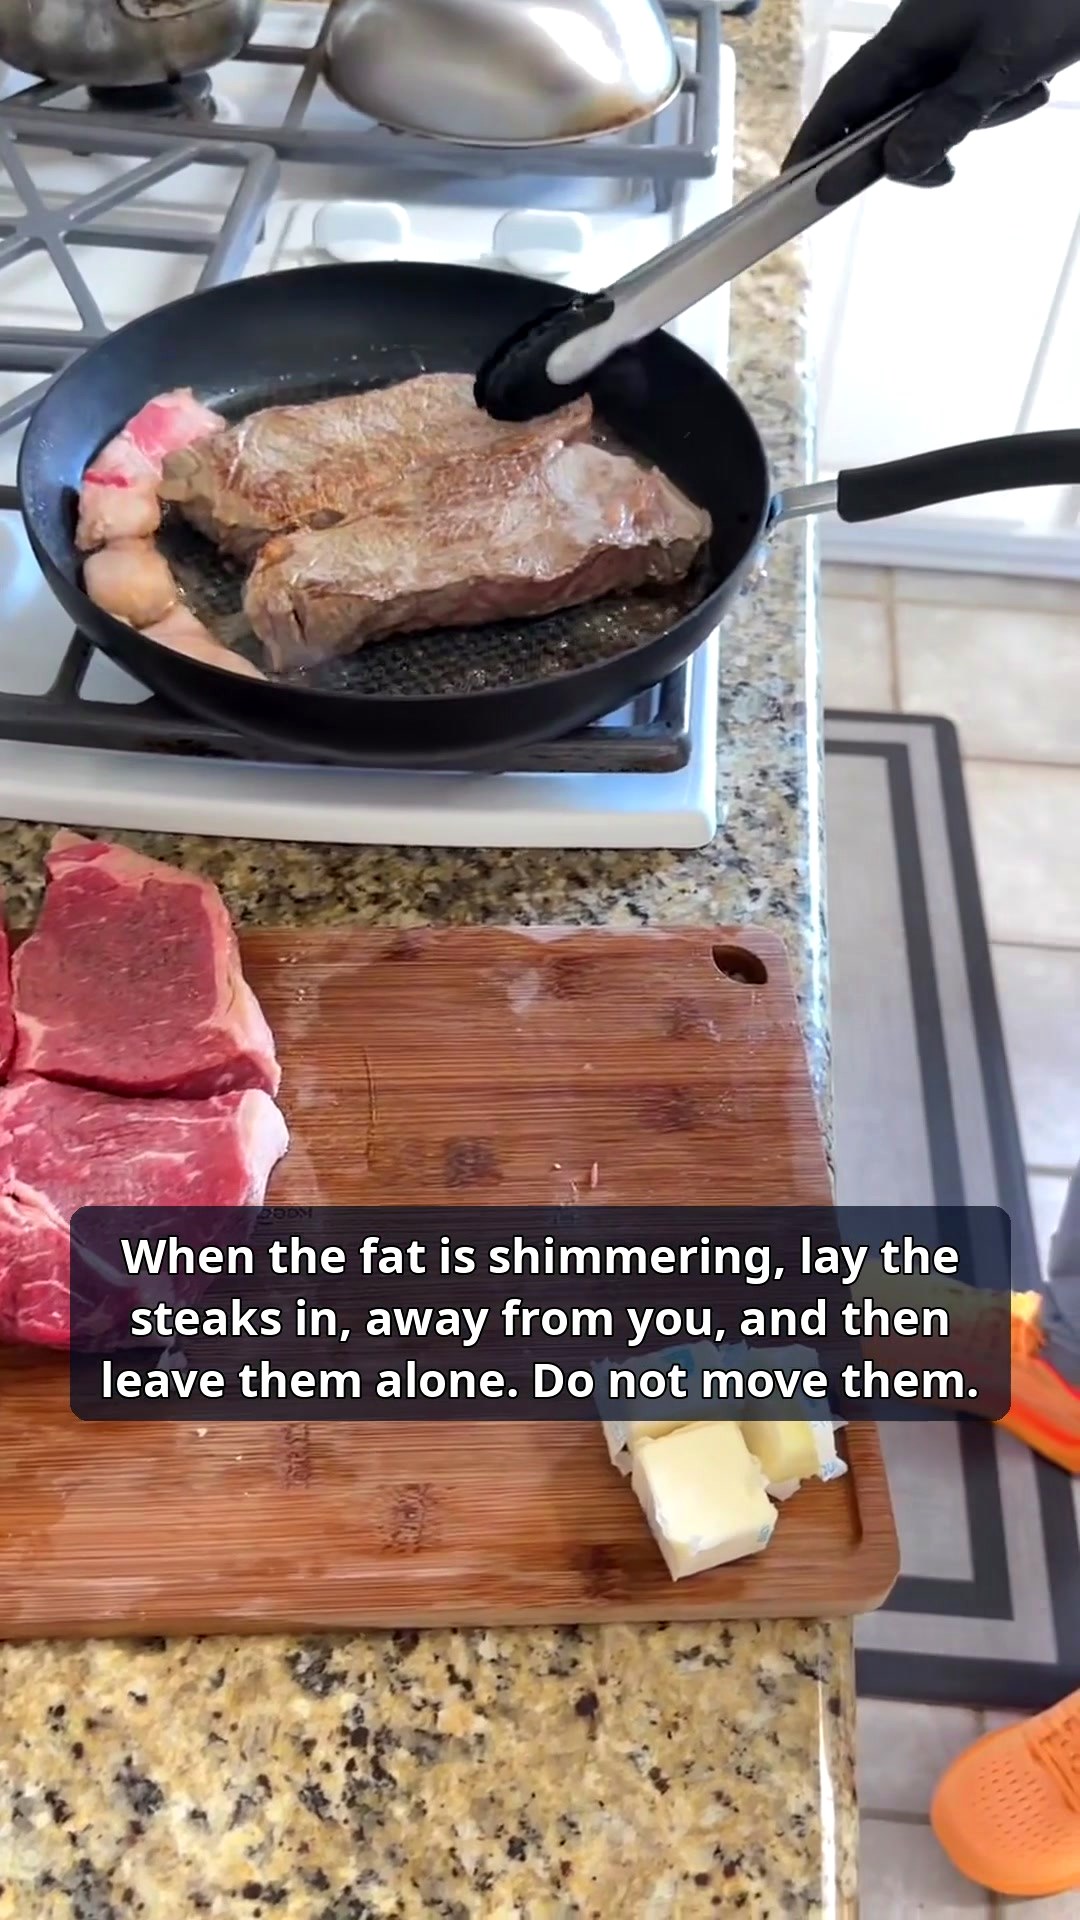
Lay those fat trimmings into the hot pan — no oil added — and let them slowly render down until the pan shines with liquid fat.
Why: no bottled oil at all. The steak cooks in its own fat, and the flavor doubles.
4. Sear it, leave it alone, flip it once
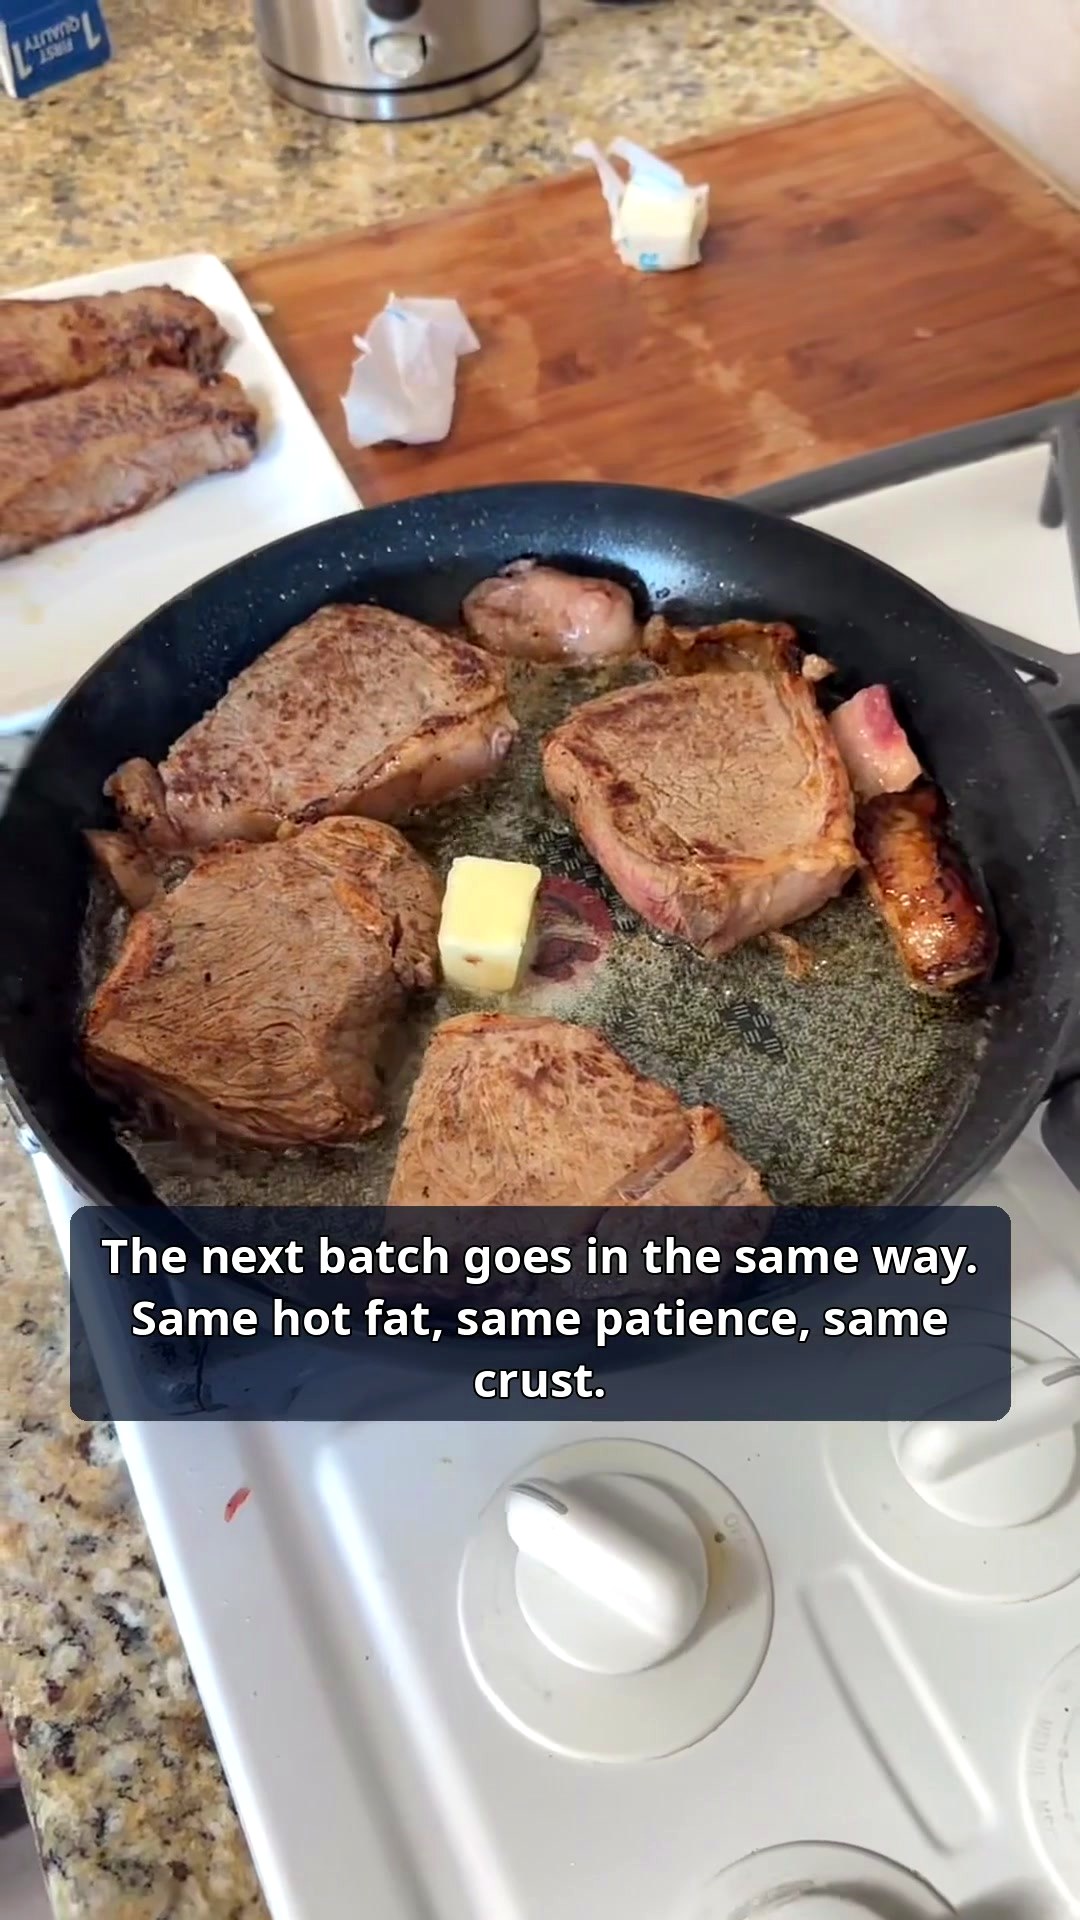
When the fat is shimmering, lay the steaks in, away from you — and then do not move them. Let the crust build until the first side is deep and golden, and flip each steak just once. For a thick cut, a dome lid for a short moment helps the heat wrap around. If the steaks crowd the pan, work in batches.
Why: crust needs uninterrupted contact with the hot pan. A crowded pan steams the meat instead of searing it.
5. Finish with a butter baste
Near the end, drop in the butter and spoon the foaming butter over the top of the steak, again and again, until the whole surface shines.
Why: the hot butter coats every corner of the crust and carries the flavor across the whole steak.
6. Rest it, slice it thick, back into the butter
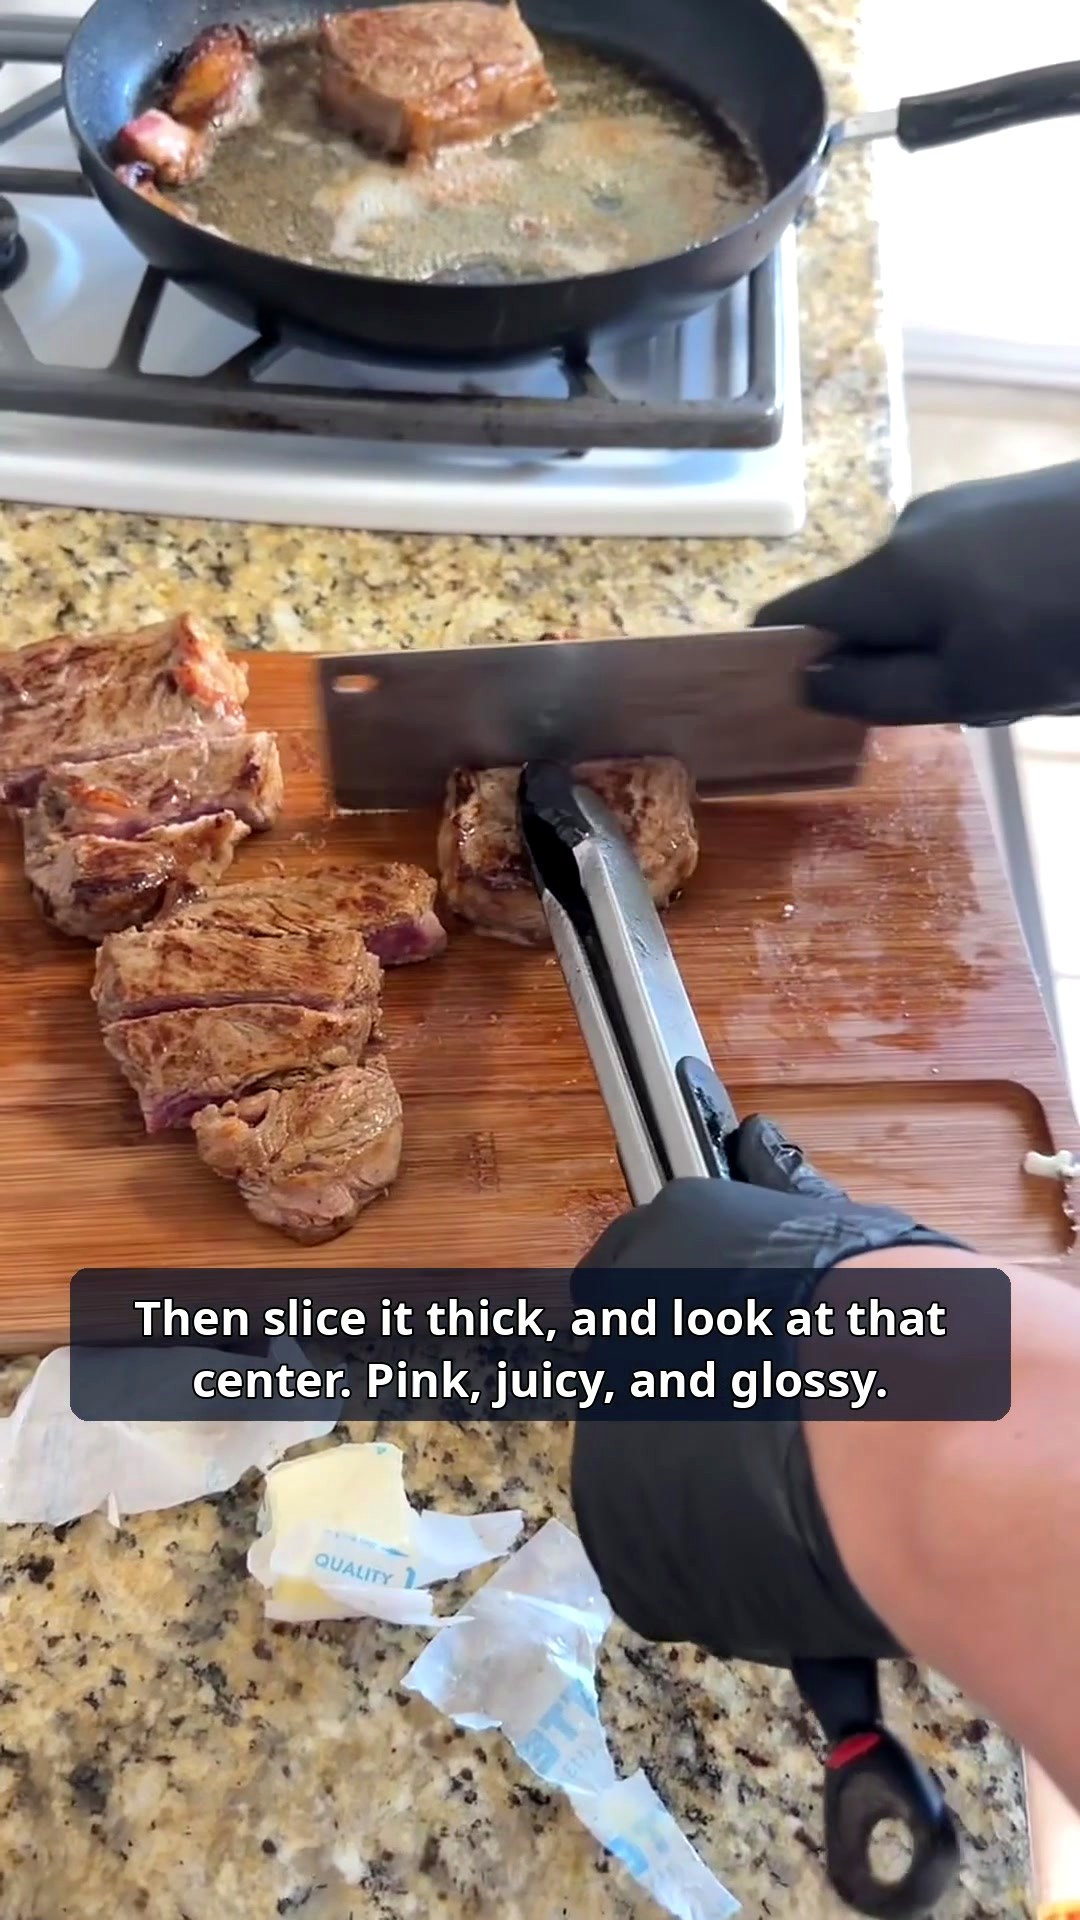
Move the steak to the board and leave it alone before you even think of cutting it. Then slice it thick — pink, juicy, and glossy in the middle. Here is the family trick: the slices go back into the hot butter for just a few seconds, so every piece gets a shiny, seared edge. And if someone at your table likes theirs a little more done, their slices simply stay a few seconds longer.
Why: resting lets the juices settle back into the meat instead of running out on the board — and everyone at the table gets a perfect bite.
On the side, the way we served it
That night the side dish was blanched green beans with minced garlic and chili flakes on top, finished with a pour of hot oil — listen for the sizzle as it hits — and when our butter lobster tails joined the table, dinner became a full surf & turf. The sides keep the steak company; the steak is the lesson.
Same method, bigger steak: our tomahawk
When the steak is a tomahawk, nothing about the method changes: dry it, salt it, sear it hard in the pan, rest it, slice it thick on the board. Then we run the family squeeze test — press a slice and watch the juice run. That juice is exactly what the rest in step 6 is protecting.
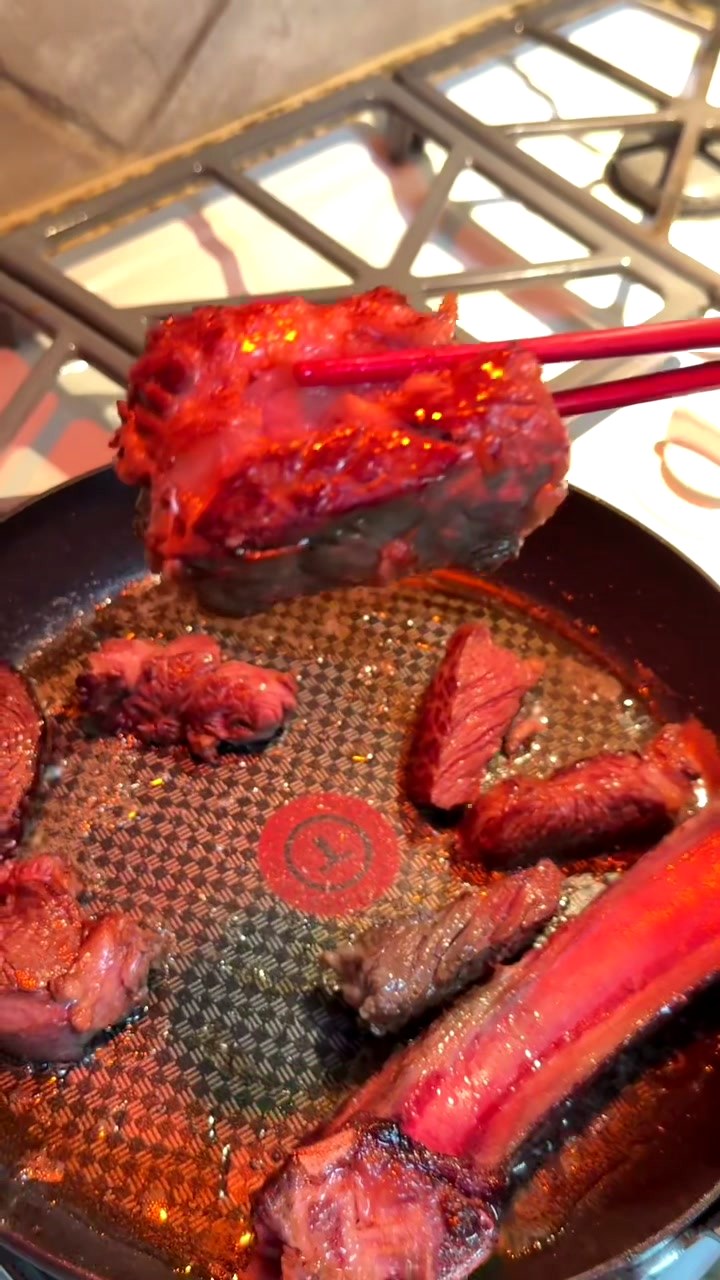
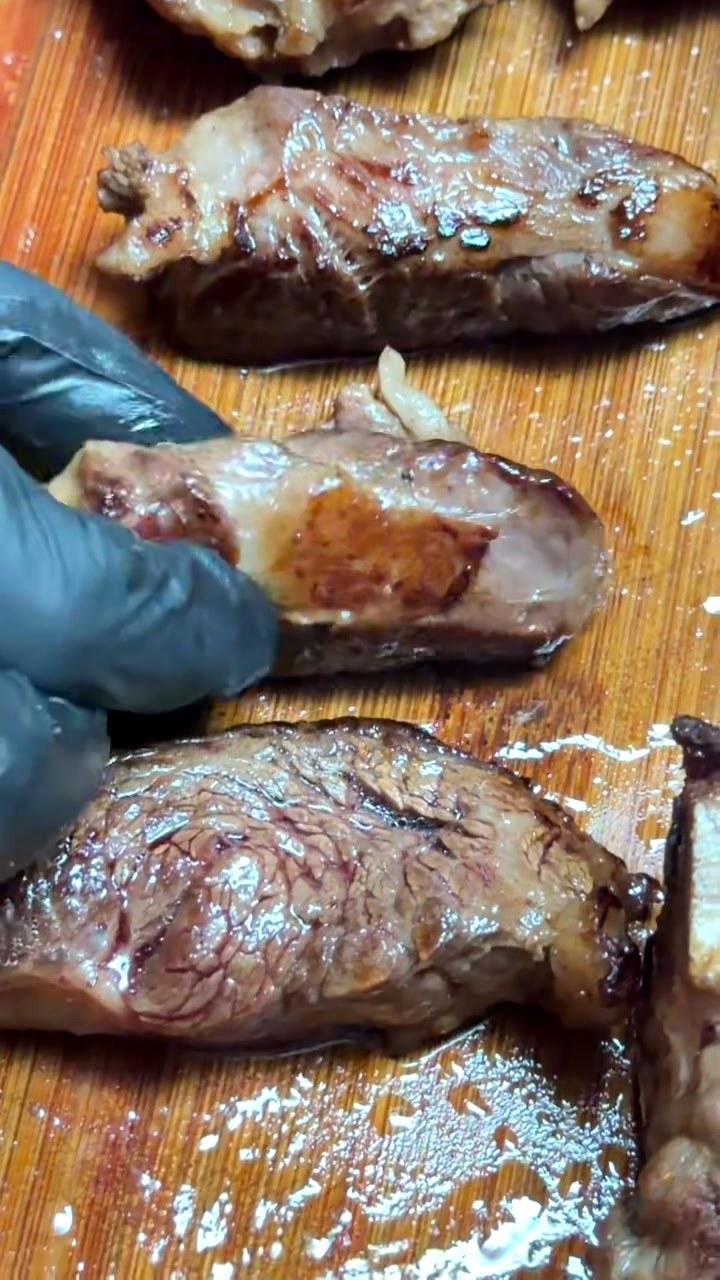
Watch the squeeze test: Tomahawk Squeeze Test 🥩 Watch the Juice Run
The mistakes that ruin a home steak
✕ Putting a wet steak in the pan
It steams instead of searing, and you get grey meat with no crust. Pat every surface dry first. It is the step nobody wants to bother with, and it decides everything.
✕ Throwing the fat trimmings away
Or reaching for bottled oil instead. The trimmings are the cooking fat and half the flavor of this method. Keep them, render them, cook in them.
✕ Poking, moving, and flipping again and again
Every touch breaks the crust's contact with the pan. Lay the steak down, leave it alone, and flip it once. Patience is not a garnish here; it is the technique.
✕ Crowding every steak into one pan
Too many steaks at once drop the pan's heat and steam the meat. Work in batches — the next batch goes in the same way: same hot fat, same patience, same crust.
✕ Slicing the second it leaves the pan
All the juice you worked for runs straight onto the board. Rest the steak first, then slice it thick.
Steak questions, straight answers
How do I know when my steak is done?
The honest answer is a thermometer. The USDA's safe minimum internal temperature for beef steaks is 145°F (63°C), measured with a food thermometer in the thickest part, with the meat rested for at least 3 minutes before carving. In our tutorial we judge by the crust, the rest, and the slice — but if you want the guesswork gone, the thermometer is the tool that ends it.
Do I have to bring the steak to room temperature first?
Our method has no separate tempering step. The salted steak rests on the board while the pan heats up — that is all the standing-around it gets, and it works. What matters far more is that the surface is dry when it meets the pan.
How long should a steak rest?
Long enough for the juices to settle back into the meat instead of running out when you cut. In our kitchen the steak waits on the board while the rest of dinner comes together — and even the USDA builds a rest of at least 3 minutes into its 145°F guidance. Rest first, slice thick, and the juice stays in the meat where it belongs.
What pan should I use?
A heavy pan that gets properly hot and holds its heat — that is what matters. Ours is an ordinary heavy pan on our home stove. No steakhouse equipment, no grill, nothing special to buy.
Why did my steak come out grey instead of crusted?
Almost always one of three things: the surface was wet, the pan was crowded, or the steak kept getting moved. Dry it, batch it, flip it once — the mistakes section above is the whole list.
References & the full lesson
- Watch the full tutorial — Teaching My Son To Cook His First Steak At Home (XingAI Cook on YouTube)
- Tomahawk Squeeze Test — the same method on a bigger steak (XingAI Cook on YouTube)
- USDA Food Safety and Inspection Service — beef steaks: minimum internal temperature 145°F (63°C), rest at least 3 minutes
- The same meal as a recipe page: His First Steak — Dad's Method, Step by Step
Cook it once, and it stops being a recipe and starts being your method. That is how it happened in our family — handed over by hand, one steak at a time.
Cooking ideas, not nutrition or medical advice. Check allergens and cook meat and eggs to safe temperatures.